Wednesday, June 27, 2012

Cloth Napkins

My June sewing class was yesterday. The project this month was cloth napkins which seems like a simple thing, but I was very excited to learn how to make them! We use cloth napkins every so often but ours are really plain--just a normal edge that's been turned under twice and straight-stitched. I always look at the embroidered linen ones in the store and think they're pretty, although I can't bring myself to pay $10 per napkin. So I was happy to learn how to make my own. And all it took was some nice thick fabric and a wing needle for my sewing machine.

My first choice of fabric was linen but at this store it was a little out of my price range. Instead I opted for the alternate fabric they recommended, which was a thick essex cotton. After we cut out the squares, our instructor showed us how to press the edges to make a perfect mitered corner (also something I didn't know how to do!). Once the napkins were pressed, I sewed a simple stitch on the back along the raw edge to hold it down. Then I swapped needles and put the wing needle in and sewed around the top side of the napkin, over the first seam, using one of the decorative stitches on my machine. Done!

The instructor showed us all what some of the most common stitches are, but we had to play with them a little on scrap fabric to see which ones we liked. We found out that stitches can look completely different depending on the fabric used.

I liked the way her sample linen napkin looked, so I tried the same stitch on my cotton one and it looked NOTHING like hers. So I tried a few different ones until I found a pattern I liked, then I sewed it around my napkins. I made a set of four. They're navy with navy thread, so it's a little hard to see detail in the pictures, but here is how they looked when finished:


I didn't know they were so easy to make! It takes a little while to sew the decorative stitching around them, but they're so pretty when finished. I'm thinking this might be a fun idea for Christmas gifts!


Sunday, June 24, 2012

Doll Diaper Bag


Parker's little friend turned two this week and we were invited out to a small local park/zoo to celebrate with her. It was a fun day! We saw a few animals, fed and pet some goats and then went on a couple rides. Parker was a bit scared on the carousel, but he LOVED the second ride--a ring of tiny fire engines and police cars that went slowly around in a circle. I buckled him into one of the fire engines and stepped back, expecting him to freak out once the ride started. But when it started to move he looked up with a grin and began turning the steering wheel and ringing the bell! It was the cutest thing ever to see him riding in that little car all by himself!   :)  He would look up at us and smile every time he went around. There weren't many people there so when the ride ended we got in line again and he got right back on. And then we did it again and again....and again! He was having a blast. Poor little guy...I felt bad when we finally decided to leave. I'm sure he could have happily stayed there all day! I think all the excitement wore him out, though. On our way home Parker was in the car for only five minutes before he crashed. Kyle carried him straight in to his bed and he didn't even wake up. That never happens!


We were happy we could help celebrate Kaylee's big day! I wanted to make her something for her birthday, but the week before was so busy that I never got a chance to work on it. My idea was to make her a doll diaper bag, something I had seen on Pinterest and thought it was just too cute! The picture was from a blog though, and that's all it was--just a picture. She didn't have a pattern or tutorial for it. I know because I emailed the author to ask.  :)  She was very nice and wrote back saying she had found a pattern for a regular bag and tweaked it to make it the size she wanted. Made sense. She gave me a few measurements to try. I'm not sure if this is actually the "pattern" she used or if she was just trying to be helpful. Here were the measurements she suggested:

back: 10x7
front: 10x7
flap: 10x7
sides: 4x7
bottom: 4x10
handle: 4x?? (depends how big your child is!)

Not having anything else to go on, I pulled out an old piece of cotton and cut out the pieces listed. I cut out a second set of pieces for the inside lining. Wouldn't hurt to sew a practice one and see how it turned out. I didn't take pictures of that first one I made, but it turned out pretty well. There was something about the size I wasn't completely happy with so, like the blogger, I made some slight adjustments. I didn't make another practice one, but when I cut out Kaylee's bag I changed the dimensions a little. I also added an elastic pocket on each outside end and a couple more pockets inside. I figured her doll would need a lot of accessories.  :)

I wanted the bag to have some stiffness so it would stand up on it's own so I lined the whole thing with fleece. Aside from cutting out the pieces, sewing the bag only took a couple of hours--I was able to sew it all during Parker's nap. Here's how it turned out:


I had a little extra time, so I cut out a matching changing pad and a few wipes. The wipes are squares of muslin. I used pinking shears to cut them out and left the edges raw. The changing pad is reversible, with one side matching the bag and the other side a coordinating solid. And I sewed a ribbon in one end to wrap around and tie it.


I picked up a magic bottle, a sippy cup and a mini fork and spoon to go inside, too. Here's the finished bag with all the accessories:


Considering I didn't have a pattern to go on, I was pretty happy with how it turned out! If our next baby is a girl, I know what one of her future Christmas gifts will be!  :)

Monday, June 18, 2012

Gift Baskets


Hope everyone had a wonderful Father's Day! :)  I didn't get a chance to talk to my Dad, as he wasn't home when I called, but we were able to have dinner and spend the evening with Kyle's parents, which was nice.
I had a hard time coming up with a gift for Kyle this year. Last June I made a personalized book for him using snapfish. It was 'written' by Parker and every page included a picture of him and Kyle as well as a one-sentence description of why Parker loves his Daddy. It turned out pretty cute and Kyle loved it. I had wanted to do something similar this year, but a lot of the pictures I wanted to use were taken on Kyle's phone and I wasn't able to get to them. So I was kind of at a loss as to what to get...  Then I remembered that the NHL draft is coming up, which is a big deal in our house! Since he married a Canadian, Kyle's become a loyal (and frustrated) follower of the Toronto Maple Leafs. He watches a lot of hockey and he's already been talking about the draft, which is this Friday. So I thought I'd make a "Countdown-to-the-NHL-Draft Survival Kit."   :)

What does one need when counting down to an NHL draft? I have no idea! But here's what I ended up getting:


-Maple Leafs t-shirt (I figured this was a necessity, right?)
-DVD of hockey bloopers/funny moments
-Small lego kit (to pass some of the time while waiting!)
-Puzzle book
-Sunflower seeds
-Reeces Pieces
-Mini snickers
-Hockey cards
-Beef jerky


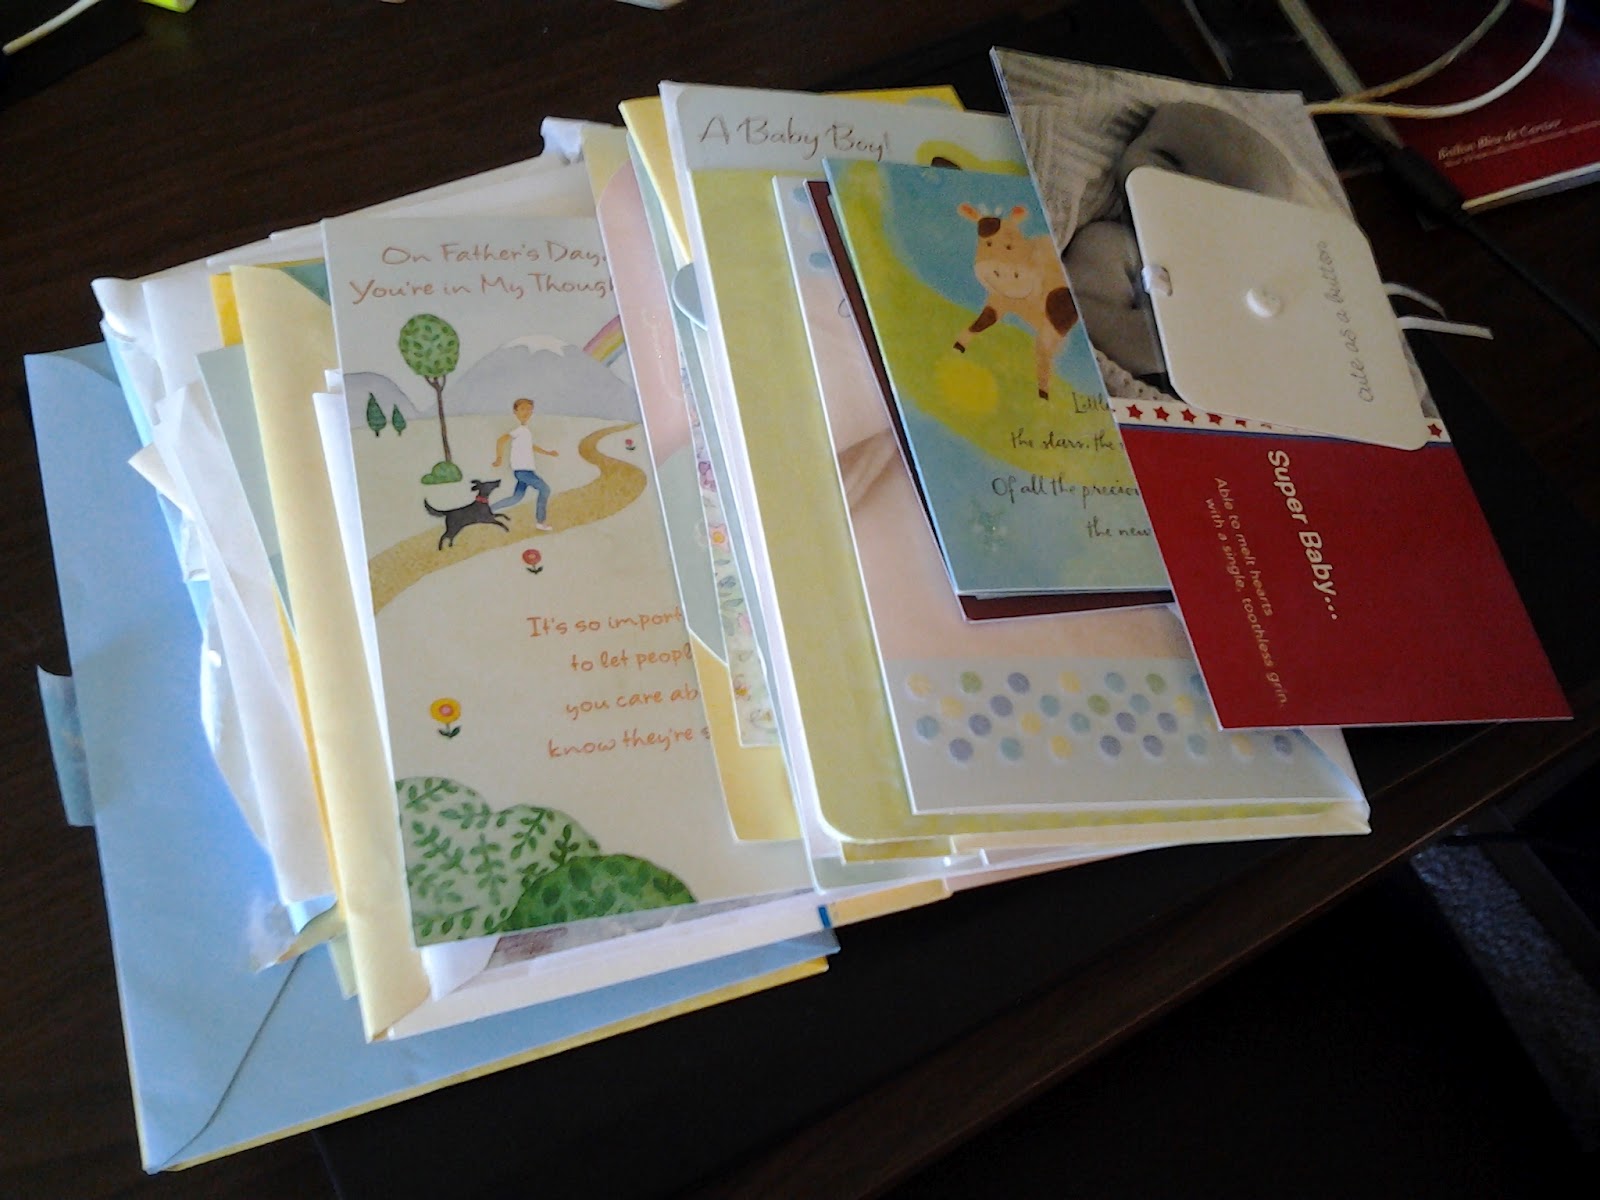
The next thing was to find some kind of container to put everything in. As Kyle is not really a fan of cute little baskets,   :)  I was hoping we had a plain gift bag that would work. Unfortunately, the only ones I had left in the closet were baby-themed. Hmmm...not the best option for a guy.

Luckily I got a package in the mail last week and the little square box was the perfect size. It would need a little work but that would be simple enough.


Maybe.

I taped down the flaps and covered the whole box in wrapping paper. I don't know how to wrap an open box properly so I was excited to see that it was starting out well--the sides were nice and smooth. However, it was a different story once I got to the last side. I wasn't sure what to do with all the left over paper so I just tucked it inside and taped it down.  :-) A little bit of lumpiness is okay, right??  I cut out a square of the wrapping paper and taped it onto the bottom to make it look a little more finished.


Finally I filled the box. I put some crumpled tissue paper in the bottom and then set the gifts inside, trying to stand them up so he could see everything. There was just enough stuff to fill the box.


The final touch was adding a card. I thought it would be cute to have Parker make the card, so i took one of his recent 'drawings' and wrote on it. Handmade cards from your kids are the best!  :)


***


The first gift basket I made was a couple months ago. A girl in our youth group had to get all of her wisdom teeth pulled (poor girl!!). We wanted to get her a gift that was practical but still fun so Kyle suggested we make a basket of some of her favorite things. She wasn't able to eat much, obviously, but her Mom told us she liked a certain kind of juice. So I started by picking up a few bottles of that, and I added a few more things:

-Juice
-Apple sauce
-Pudding
-Chapstick
-Cookie Monster gel pack
-Mini puzzle
-Crossword/Sudoku book
-A pair of cute socks
-Get well card


I decided that I like making gift baskets!  It's such a fun way to personalize what you give--you can make it suit any type of person or occasion. I don't always know what to put in it, but that's half the fun--shopping for all the random little goodies that will go inside.  :)


-


Sunday, June 10, 2012

Fruit Tarts

Today was a big day for our youth Sunday school class. It was "Promotion Sunday," the week they honored the high school grads and also recognized the younger ones moving up into either middle school or high school. As a result, we had a slightly larger class than usual. I volunteered to bring sweets, thinking something fruity might be good for a hot summer day.
I asked Kyle what he thought would be better....a cherry danish-type dessert or fruit tarts. I wasn't surprised when he chose the tarts.  :)  Fruit pizza is one of our favorite desserts. It has a soft cookie crust, a layer of sweetened cream cheese and then fruit arranged on top. Super yummy! I got the recipe from my Aunt and everyone loves it. But I thought it might be a little messy to take for the class since it requires plates and forks to eat it. And a knife to cut it, and a lifter to serve it, etc., etc...  which is why I decided on tarts!
Well, I was away most of Saturday and didn't feel like spending all evening in the kitchen making and cutting out cookie dough for tarts. So I cheated this time and tried using refrigerated pie crusts. Here's how I made the tarts:

Fruit Tarts

2 boxes refrigerated pie crust
2 pkg. (8 oz. each) cream cheese, softened
1/2 cup powdered sugar
1/2 tsp. vanilla
small tub of coolwhip
assorted fruit, cut into small chunks or slices. I used strawberries, kiwi, blueberries, blackberries, mandarin oranges and grapes.

1) Unroll the pie dough and use a cookie cutter to cut out circles. Press dough into tart pans and prick well with a fork. Bake according to package directions. Cool completely.


2) Beat cream cheese with powdered sugar and vanilla until smooth. Fold in about half the tub of coolwhip (I didn't measure) mixing until evenly combined.


3) Spoon a small amount of the cream cheese filling into each tart shell. I used a scoop to quickly get the same amount in each one. Spread slightly. Top each tart with a few different kinds of fruit. Store tarts in the fridge.


That's it! Aren't they pretty? I love all the bright colors of the fruit. I got about 30 tarts, but if I had re-rolled the pie dough scraps I would have gotten a few more.

Before giving them out to the class I wanted to know how they tasted so I tried one. Hmm... guess it was okay, but not as good as fruit pizza. I asked Kyle afterwards what he thought of them and he agreed. He said they were fine, but the pie dough was definitely not as good as the sweet cookie crust I usually make. So these would be better if made with some type of shortbread or sugar cookie tart shell. I'll have to try that next time!

Wednesday, June 6, 2012

Card Organization

Do you keep greeting cards from birthdays or other special occasions? I have to admit, I usually throw them away once the big day is over. The only ones I keep are from Kyle. I have a keepsake box in which I have a few things from our wedding and some of the sweet cards/notes he's given me over the years. Yes, I'm sentimental that way.  :)

But when Parker was born I hung onto the baby cards we received. It was so nice to receive cards/gifts from people along with a personal message about our new little blessing and the joys we could look forward to! I couldn't decide if I should toss them or keep them along with Parker's other baby things... I finally decided to keep them for now but I wasn't sure how to store them. Then I remembered something I had found on Pinterest a while back that would now come in handy!

Basically, the cards were stacked neatly and had binder rings to hold them all together. Simple, right? :)
Here is my stack of cards before I started...


These were the only supplies I needed: a piece of paper folded in half to use as a template for where to punch holes, a hole punch and three binder rings.


I lined up the top holes for the bigger cards to make the stack look a little neater, then I centered the holes on the medium ones. On the smaller ones I just punched two holes, lining up the tops. I had a few cards that were irregular shaped or that opened from the bottom, so I punched holes in a few of the larger envelopes and will keep those cards inside them.


That's it! Now I have a nice, neat stack of baby cards that I can add to my keepsake box!  :)


Friday, June 1, 2012

Baked Zucchini

Thanks to all the meals in our freezer, I didn't have to make dinner tonight! I had thawed out a lasagne, so all I had to do was put it in the oven and sit and wait.  :)
Since I had plenty of time, I decided to make a batch of biscuits to go with dinner. Once those were done I got out a zucchini to cook as another side. I've chopped it up for spaghetti sauce or steamed it along with other veggies but I don't usually cook it plain....I wasn't sure what to do with it. Seemed like a good time to experiment!

I got out a few simple ingredients and began. Here's what I used...


1/4 cup dry bread crumbs
1-1/4 tsp. ranch dressing mix
1/2 cup milk
1 small zucchini


Stir together the bread crumbs and ranch mix;
set aside. Cut the zucchini into 1/4" slices.


Dip the slices into the milk, then into the bread crumbs, giving each piece a light coating.


Place onto a cookie sheet and bake at 350 degrees for 15 minutes, turning halfway through, until the breading is lightly browned. Done!


Parker doesn't always like plain vegetables, but he tried one of these and then proceeded to eat about half of the plate! :)